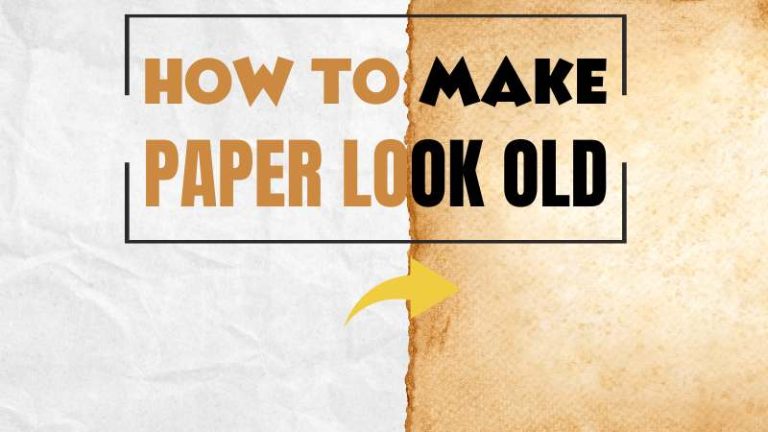
The Art of Aging: How to Make Paper Look Old with Coffee
In a world dominated by digital documents, the allure of aged paper holds a unique charm. It whispers of history, of authenticity, and of a tangible connection to the past. Whether you’re a crafter, a writer, a historical enthusiast, or simply someone who appreciates the aesthetic, learning how to make paper look old with coffee is a valuable skill. This article will delve into the process, providing a comprehensive guide to achieving that coveted vintage look, complete with tips, tricks, and a touch of historical context.
The Enduring Appeal of Aged Paper
Before we begin, it’s worth considering why we’re so drawn to the appearance of aged paper. The answer lies in the visual cues it provides. The subtle discoloration, the softened edges, and the faint scent of time all contribute to a sense of history and authenticity. In a world saturated with perfect, pristine surfaces, the imperfections of aged paper offer a welcome contrast. They suggest a narrative, a story waiting to be told. This is why the technique of how to make paper look old with coffee is so popular.
Understanding the Science Behind the Stain
The process of aging paper with coffee is a chemical reaction. Coffee contains tannins, which are naturally occurring compounds that react with the cellulose fibers in paper. This reaction causes the paper to darken and yellow, mimicking the effects of natural aging. The intensity of the stain depends on several factors, including the strength of the coffee, the type of paper, and the duration of the staining process. Understanding these factors is key to achieving the desired result when learning how to make paper look old with coffee.
Gathering Your Supplies
The beauty of this technique is its simplicity. You likely have most of the necessary supplies already in your home. Here’s what you’ll need:
- Coffee: Brewed coffee, preferably strong. The darker the roast, the more intense the stain. Instant coffee can also be used, though the results may vary.
- Paper: Any type of paper can be used, but thicker paper, like cardstock or watercolor paper, generally holds up better to the process. Experiment with different paper types to find your preferred aesthetic.
- Container: A shallow container, such as a baking dish or a tray, large enough to accommodate the paper you’re aging.
- Sponge or Brush: For applying the coffee to the paper. A sponge will create a more even stain, while a brush can be used for a more textured effect.
- Oven or Hair Dryer (Optional): For speeding up the drying process and intensifying the aging effect.
- Gloves (Optional): To protect your hands from staining.
- Paper Towels or Cloth: To blot excess coffee.
Step-by-Step Guide: Aging Paper with Coffee
Now, let’s get to the practical application. Here’s a step-by-step guide on how to make paper look old with coffee:
- Brew the Coffee: Brew a strong batch of coffee. Let it cool slightly, but it’s best to use it while it’s still warm to maximize the staining effect.
- Prepare the Paper: Lay your paper flat on a protected surface. Make sure the surface is waterproof.
- Apply the Coffee: Using a sponge or brush, apply the coffee evenly to the paper. You can choose to apply a light wash for a subtle effect or saturate the paper for a more intense look. For a more aged look, consider varying the application, leaving some areas lighter and others darker.
- Blot Excess Coffee: After applying the coffee, use a paper towel or cloth to blot away any excess liquid. This will help prevent the paper from warping.
- Dry the Paper: Allow the paper to dry completely. This can take several hours or even overnight, depending on the thickness of the paper and the humidity. You can speed up the process by using an oven (set to a low temperature, around 200°F or 93°C) or a hair dryer. Be careful not to overheat the paper, as this can cause it to scorch.
- Assess and Repeat (Optional): Once the paper is dry, assess the results. If you want a darker or more aged look, you can repeat the process, applying another coat of coffee.
Achieving Different Effects
The beauty of this technique lies in its versatility. You can experiment with different approaches to achieve a variety of effects. For example, you can use:
- Different Coffee Strengths: Stronger coffee will result in a darker, more intense stain.
- Different Application Techniques: A sponge will create a more uniform stain, while a brush can be used to create streaks and textures.
- Adding Tea: Combining coffee with tea can add different hues and complexities to the aging process.
- Crumpling and Folding: Before staining, crumple and unfold the paper to create creases and wrinkles, enhancing the aged effect.
The possibilities are endless. The best way to learn how to make paper look old with coffee is to experiment and find what works best for you and your desired aesthetic.
Troubleshooting Common Issues
While the process of aging paper with coffee is relatively straightforward, you might encounter a few common issues. Here’s how to address them:
- Paper Warping: This is often caused by applying too much coffee. Blot away excess liquid with a paper towel. If the paper warps significantly, try flattening it under a heavy book after it dries.
- Uneven Staining: This can be caused by uneven application of the coffee. Try using a sponge or brush to apply the coffee more evenly. You can also experiment with different application techniques.
- Scorching: If you’re using an oven or hair dryer, be careful not to overheat the paper. Set the oven to a low temperature and monitor the paper closely. With a hair dryer, keep it moving and maintain a safe distance.
- Fading: The stain may fade over time, especially if the paper is exposed to direct sunlight. To minimize fading, store the aged paper in a cool, dark place.
Beyond the Basics: Creative Applications
Once you’ve mastered the basic technique of how to make paper look old with coffee, you can explore a wide range of creative applications. Here are a few ideas:
- Creating Vintage Documents: Use aged paper to create authentic-looking letters, maps, certificates, or any other document that requires a vintage feel.
- Crafting Scrapbook Pages: Add a touch of history to your scrapbook pages by using aged paper as a background or for embellishments.
- Making Greeting Cards: Create unique and personalized greeting cards with an aged paper base.
- Decorating Journals and Notebooks: Give your journals and notebooks a vintage look by aging the covers or the pages inside.
- Artistic Projects: Use aged paper in mixed media art, collage, or other artistic projects to add texture and visual interest.
The possibilities are limited only by your imagination.
The Historical Context: Why Aged Paper Matters
The desire to replicate the look of aged paper is rooted in history. Before the advent of modern printing techniques, paper was made from natural materials and processed in ways that resulted in its eventual degradation. The passage of time, exposure to light, and the acidity of the paper itself all contributed to its aging. The yellowing, the brittleness, and the imperfections of aged paper are, in a way, a testament to the paper’s history. Learning how to make paper look old with coffee allows us to connect with that history, to create something that evokes a sense of time and place.
Preserving Your Aged Creations
To ensure the longevity of your aged paper creations, consider the following:
- Storage: Store your aged paper in a cool, dark, and dry place, away from direct sunlight and humidity.
- Handling: Handle aged paper with care, as it can be more fragile than new paper. Avoid excessive folding or bending.
- Framing: If you’re framing your aged paper creations, use archival-quality materials, such as acid-free matting and backing boards, to protect the paper from degradation.
Conclusion: Mastering the Art of Aging
Learning how to make paper look old with coffee is a rewarding craft that combines creativity with a touch of historical appreciation. With a few simple supplies and a little practice, you can transform ordinary paper into something extraordinary, imbued with the charm of the past. Embrace the imperfections, experiment with different techniques, and let your creativity flow. The world of aged paper awaits!
This guide has provided a comprehensive overview of the technique, from gathering your supplies to troubleshooting common issues. By following these steps, you’ll be well on your way to mastering the art of aging paper. Now go forth and create! [See also: Creative Paper Crafting Ideas]
Remember, the key to success lies in experimentation. Don’t be afraid to try different techniques, different types of coffee, and different types of paper. The more you experiment, the better you’ll become at achieving the desired aesthetic. The process of how to make paper look old with coffee is a journey of discovery, a chance to connect with the past, and to create something beautiful and unique. Embrace the process, enjoy the results, and share your creations with the world. The ability to master how to make paper look old with coffee is a skill that will serve you well across a variety of creative endeavors.

