How to Remove a Fridge From Your Camper: A Step-by-Step Guide
The allure of the open road, the freedom to roam, and the cozy comfort of a camper – it’s a lifestyle many dream of. But even the most idyllic setups sometimes require a bit of a revamp. Perhaps your camper’s refrigerator has seen better days, or maybe you’re upgrading to a more efficient model. Whatever the reason, removing a fridge from your camper can seem like a daunting task. However, with the right knowledge and a methodical approach, it’s a manageable project that can be completed with confidence. This guide provides a comprehensive, step-by-step walkthrough on how to remove a fridge from a camper, ensuring you can tackle this task safely and effectively.
Before you begin, it’s crucial to understand that working with electrical and gas appliances requires caution. If you’re uncomfortable with any of the steps outlined, it’s always best to consult a qualified technician. Your safety and the integrity of your camper are paramount. This guide will focus on the general procedures involved in removing a typical RV refrigerator; specific models may have minor variations in their construction.
Preparing for the Fridge Removal
Before you even touch a wrench, preparation is key. Proper preparation minimizes risks and ensures a smoother process when you remove the fridge from your camper.
- Safety First: Disconnect the camper from all power sources. This includes unplugging the shore power cord and disconnecting the battery. Double-check to ensure no power is flowing to the refrigerator.
- Gather Your Tools: You’ll need a basic set of tools, including screwdrivers (Phillips and flathead), wrenches (various sizes), wire cutters/strippers, a level, gloves, safety glasses, and a flashlight. A helper can also be invaluable.
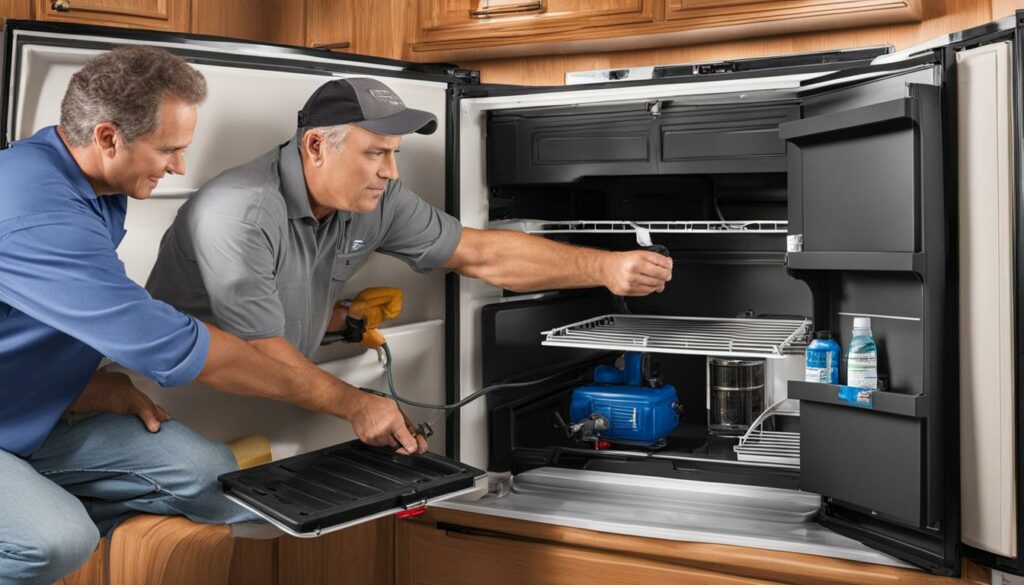
- Locate the Fridge Access Points: RV refrigerators often have access panels on the exterior of the camper, typically located on the roof or side. These panels provide access to the refrigerator’s ventilation system and gas lines (if applicable). Familiarize yourself with these access points.
- Clear the Area: Remove any food items from the refrigerator and defrost it completely. Wipe down the interior to prevent spills during removal. Protect the surrounding area with drop cloths or blankets to prevent scratches or damage.
- Document the Setup: Take photos of the refrigerator’s wiring, gas connections, and any other relevant details. This will be a lifesaver when reinstalling a new fridge or reconnecting the existing one.
Disconnecting the Power and Gas
With the preparations complete, it’s time to safely disconnect the power and gas lines. This is a critical step when learning how to remove a fridge from a camper.
Disconnecting the Electrical Connections
- Locate the Wiring: Identify the electrical wiring connected to the refrigerator. This typically includes a 12-volt DC wire (from the battery) and a 120-volt AC wire (from shore power or a generator).
- Disconnect the Wires: Carefully disconnect the wires from the refrigerator’s terminals. Use wire strippers to expose the wires if needed and consider labeling each wire to ensure correct reconnection. If you are unsure, take a picture.
- Secure the Wires: After disconnecting the wires, use electrical tape or wire connectors to insulate the exposed ends. This prevents any accidental shorts.
Disconnecting the Gas Line (If Applicable)
If your refrigerator runs on propane, you’ll need to disconnect the gas line. Exercise extreme caution during this step. If you are not comfortable working with gas, contact a qualified technician.
- Turn Off the Propane: Locate the propane shut-off valve, typically near the propane tank, and turn it off.
- Vent the Gas Line: Allow any remaining gas in the line to dissipate. You might hear a slight hissing sound as the gas is released.
- Disconnect the Gas Line: Using a wrench, carefully disconnect the gas line from the refrigerator. Be prepared for a small amount of residual gas. Ensure you have proper ventilation.
- Cap the Gas Line: Cap the open end of the gas line to prevent leaks. Proper sealing is crucial.
Removing the Fridge from the Camper
Now comes the physical removal of the refrigerator. This requires patience and a systematic approach when you remove the fridge from your camper.
- Remove the Trim and Fasteners: Carefully remove any trim or panels that surround the refrigerator. These may be secured with screws, clips, or adhesive.
- Locate the Mounting Hardware: RV refrigerators are typically secured to the camper with screws or bolts. Locate these fasteners, which may be hidden behind trim or panels.
- Loosen or Remove the Fasteners: Loosen or remove the mounting hardware. You may need a helper to support the refrigerator while you do this.
- Carefully Slide or Lift the Fridge: With the fasteners removed, carefully slide or lift the refrigerator out of its housing. RV refrigerators can be heavy, so enlist help if needed.
- Navigate Obstacles: Be mindful of any pipes, wires, or other obstacles that may be in the way.
Cleaning and Preparing the Space
Once the refrigerator is out, take the opportunity to clean the space and prepare it for the next step, whether that’s installing a new fridge or repurposing the space. This is a great time to evaluate your camper’s insulation.
- Clean the Area: Thoroughly clean the area where the refrigerator was located. Vacuum or wipe down any debris.
- Inspect the Wiring and Plumbing: Inspect the remaining wiring and plumbing for any damage. Repair or replace any damaged components.
- Check the Insulation: Inspect the insulation around the refrigerator opening. Replace any damaged or missing insulation.
- Consider Ventilation: If you are not replacing the refrigerator, ensure adequate ventilation in the space to prevent mold and mildew growth.
Safety Precautions When You Remove a Fridge From Your Camper
Throughout the process of learning how to remove a fridge from a camper, safety should be your top priority. Here are some essential safety precautions:
- Always Disconnect Power: Before starting any work, disconnect the camper from all power sources.
- Wear Protective Gear: Wear safety glasses, gloves, and appropriate clothing.
- Work in a Well-Ventilated Area: Ensure adequate ventilation, especially when working with gas lines or solvents.
- Use Proper Lifting Techniques: RV refrigerators can be heavy. Lift with your legs, not your back, and get help if needed.
- Be Patient and Methodical: Don’t rush the process. Take your time and work systematically.
- Consult a Professional: If you are unsure about any step, consult a qualified technician.
Alternative Options and Considerations
Removing the fridge from your camper opens up a world of possibilities. Consider these options:
- Installing a New Refrigerator: Replace the existing fridge with a new, more efficient model. This can significantly improve your camper’s energy efficiency.
- Converting to a Different Appliance: Consider replacing the fridge with a different appliance, such as a freezer or a wine cooler.
- Creating Storage Space: If you don’t need a refrigerator, convert the space into additional storage.
- Insulating the Space: Improve the insulation to better regulate the temperature.
Troubleshooting Common Issues
Even with careful planning, you may encounter some issues. Here are some common problems and their solutions when you remove a fridge from your camper:
- Stuck Fridge: If the fridge is stuck, check for hidden fasteners or adhesive. Use a pry bar to gently loosen it.
- Damaged Wiring: If you damage any wiring, consult an electrician to repair or replace it.
- Gas Leaks: If you smell gas, immediately shut off the propane supply and ventilate the area. Contact a qualified technician.
- Difficulty Accessing Components: Use a flashlight to identify hidden fasteners or components. Consult the refrigerator’s manual or online resources.
Conclusion
Removing a fridge from your camper is a project that requires careful planning, attention to detail, and respect for safety. By following these steps, you can successfully complete the task and enjoy the freedom to customize your camper to your needs. Remember to always prioritize safety and consult a professional if you have any doubts. Knowing how to remove a fridge from a camper empowers you to make the most of your RV adventure.
With the refrigerator removed, your camper is ready for its next chapter. Whether you’re upgrading to a new model, creating extra storage, or exploring other possibilities, the key is to approach the project with a clear plan and a commitment to safety. Enjoy the journey of transforming your camper into your ideal mobile home!
[See also: How to Winterize Your RV, RV Water Heater Troubleshooting, Best RV Solar Panel Kits]

