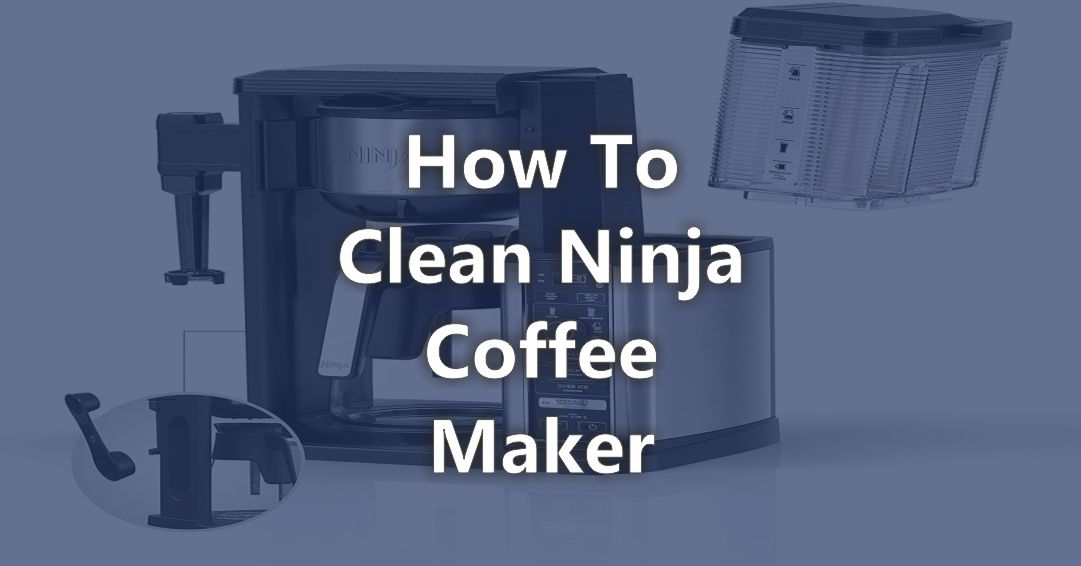
Conquer Your Caffeine Craving: A Definitive Guide on How to Clean Your Ninja Coffee Maker with the Clean Button
The aroma of freshly brewed coffee is a morning ritual for millions. But, like any appliance that sees regular use, your Ninja coffee maker requires consistent maintenance to ensure optimal performance and, most importantly, a delicious cup of joe. A key aspect of this maintenance is cleaning, and Ninja coffee makers often feature a convenient “Clean” button. This article provides a comprehensive guide on how to clean Ninja coffee maker with clean button, ensuring your machine continues to deliver the perfect brew for years to come.
Ignoring cleaning can lead to a build-up of mineral deposits (scale) from your water supply, affecting the taste of your coffee, reducing brewing efficiency, and potentially damaging your machine. This guide will walk you through the entire process, from understanding the importance of cleaning to the step-by-step instructions on how to effectively utilize the clean button and maintain your Ninja coffee maker.
Why Cleaning Your Ninja Coffee Maker Matters
Regular cleaning is not just about aesthetics; it’s about ensuring the longevity and performance of your coffee maker. The build-up of mineral deposits, primarily calcium and magnesium, can severely impact your machine. These deposits can:
- Affect Taste: Scale can impart a metallic or bitter taste to your coffee, ruining your morning ritual.
- Reduce Brewing Efficiency: Clogged water lines can slow down the brewing process, making your coffee weaker and less flavorful.
- Damage the Machine: Severe scale build-up can damage heating elements and other internal components, potentially leading to costly repairs or replacement.
- Harbor Bacteria: A dirty coffee maker can become a breeding ground for bacteria and mold, posing health risks.
By learning how to clean Ninja coffee maker with clean button, you’re actively contributing to the machine’s longevity and the quality of your coffee.
Understanding the Clean Button on Your Ninja Coffee Maker
The “Clean” button is a built-in feature designed to simplify the descaling process. Descaling removes mineral build-up from the internal components of your coffee maker. While the exact functionality may vary slightly depending on the specific Ninja model, the general process remains consistent. The clean button usually prompts a specific cleaning cycle that uses a descaling solution to flush out mineral deposits.
Before you begin, it’s crucial to consult your Ninja coffee maker’s user manual. The manual provides specific instructions and recommendations tailored to your model. It will outline the proper descaling solution to use, the frequency of cleaning, and any model-specific nuances. Generally, Ninja coffee makers will alert you when the cleaning cycle is needed, often through an illuminated “Clean” indicator light. However, it’s good practice to clean your Ninja coffee maker regularly, regardless of any indicator.
Gathering Your Supplies: What You’ll Need
Before you start the process of how to clean Ninja coffee maker with clean button, gather the necessary supplies. You will need:
- Descaling Solution: Ninja recommends using a descaling solution specifically designed for coffee makers. You can purchase these solutions from Ninja directly or from various retailers. Alternatively, you can use a solution of white vinegar and water (see instructions below).
- Water: Fresh, clean water is essential for both the descaling process and rinsing.
- Measuring Cup: To accurately measure the descaling solution and water.
- Empty Carafe or Mug: To collect the descaling solution as it passes through the machine.
- Optional: A soft cloth or sponge for wiping down the exterior of the coffee maker.
Step-by-Step Guide: How to Clean Ninja Coffee Maker with Clean Button and Vinegar
Here’s a comprehensive guide on how to clean Ninja coffee maker with clean button, using a vinegar solution as a common, effective, and cost-effective method. Please note: While vinegar is a popular choice, always check your Ninja coffee maker’s manual for specific recommendations. If your manual explicitly advises against using vinegar, opt for a commercial descaling solution.
- Prepare the Solution: In the water reservoir, combine equal parts white vinegar and water. A common ratio is 1 part vinegar to 1 part water. For example, if your reservoir holds 12 cups, use 6 cups of vinegar and 6 cups of water.
- Activate the Clean Cycle: Fill the water reservoir with the vinegar and water solution. Ensure the carafe is in place. Press and hold the “Clean” button on your Ninja coffee maker until the light turns on. The machine will then initiate the cleaning cycle. The cycle will typically run for a set period, allowing the solution to circulate through the machine.
- Allow the Cycle to Complete: Let the cleaning cycle run its course. The machine will likely pause and restart as it works to descale the internal components. This process may take around an hour.
- Rinse Thoroughly: Once the cleaning cycle is complete, empty the carafe and the water reservoir. Refill the reservoir with fresh, clean water. Run a full brewing cycle (without coffee grounds) to rinse out any remaining vinegar residue. Repeat this rinse cycle at least once, or until the vinegar smell has disappeared.
- Clean Exterior: While the internal cleaning is underway, you can wipe down the exterior of your Ninja coffee maker with a damp cloth to remove any spills or coffee stains.
By following these steps, you’ve successfully learned how to clean Ninja coffee maker with clean button using vinegar. This will ensure your machine is clean and ready to brew your next perfect cup.
Step-by-Step Guide: How to Clean Ninja Coffee Maker with Clean Button and Commercial Descaling Solution
If you choose to use a commercial descaling solution, the process is similar, but the solution preparation and usage will vary depending on the product. Always read and follow the manufacturer’s instructions on the descaling solution packaging. Here’s a general guide on how to clean Ninja coffee maker with clean button, using a commercial descaling solution:
- Prepare the Solution: Follow the instructions on the descaling solution bottle to prepare the solution. This often involves diluting the concentrated solution with water. The ratio will be indicated on the product.
- Activate the Clean Cycle: Pour the prepared descaling solution into the water reservoir. Ensure the carafe is in place. Press and hold the “Clean” button on your Ninja coffee maker until the light turns on. The machine will then initiate the cleaning cycle. The cycle will typically run for a set period, allowing the solution to circulate through the machine.
- Allow the Cycle to Complete: Let the cleaning cycle run its course. The machine will likely pause and restart as it works to descale the internal components. This process may take around an hour.
- Rinse Thoroughly: Once the cleaning cycle is complete, empty the carafe and the water reservoir. Refill the reservoir with fresh, clean water. Run a full brewing cycle (without coffee grounds) to rinse out any remaining descaling solution. Repeat this rinse cycle at least twice, or until the solution smell has disappeared.
- Clean Exterior: While the internal cleaning is underway, you can wipe down the exterior of your Ninja coffee maker with a damp cloth to remove any spills or coffee stains.
Following these steps using a commercial descaling solution will help you understand how to clean Ninja coffee maker with clean button and keep your machine in top condition.
Frequency of Cleaning: How Often Should You Clean Your Ninja Coffee Maker?
The frequency of cleaning depends on several factors, including water hardness and how often you use your coffee maker. As a general guideline, it’s recommended to clean your Ninja coffee maker using the “Clean” button every 1-3 months. If you live in an area with hard water, you may need to clean more frequently. If you use your coffee maker daily, cleaning it more often is also advisable.
Pay attention to the “Clean” indicator light on your Ninja coffee maker. This light often illuminates when cleaning is needed. However, don’t solely rely on this indicator. Regularly cleaning your coffee maker, even before the light illuminates, will help prevent excessive mineral build-up and maintain optimal performance. Remember to also wipe down the exterior after each use.
Troubleshooting Common Issues
Even with regular cleaning, you may encounter some issues. Here are some common problems and solutions:
- Coffee tastes bitter or metallic: This is often a sign of mineral build-up. Descale your coffee maker using the “Clean” button.
- Brewing takes longer than usual: This could indicate clogged water lines. Descale your machine. If the problem persists, consult your user manual or contact Ninja customer support.
- “Clean” light won’t turn off: Ensure you’ve completed the descaling cycle and rinsed the machine thoroughly. If the light persists, consult your user manual or contact Ninja customer support.
If you’re still experiencing problems after descaling, consult your Ninja coffee maker’s user manual or contact Ninja customer support for assistance.
Beyond the Clean Button: Additional Cleaning Tips
While the “Clean” button is essential, other cleaning practices can further enhance your coffee maker’s performance and longevity. Consider these additional tips:
- Regularly Wash Removable Parts: After each use, wash the carafe, filter basket, and any other removable parts with warm, soapy water.
- Clean the Exterior: Wipe down the exterior of your coffee maker regularly to remove spills and coffee stains.
- Use Filtered Water: Using filtered water can help reduce mineral build-up and improve the taste of your coffee.
- Properly Store Your Coffee Maker: When not in use for extended periods, store your coffee maker in a clean, dry place.
By incorporating these additional cleaning practices, you can further extend the life of your Ninja coffee maker and maintain the quality of your brewed coffee. Remembering how to clean Ninja coffee maker with clean button is just one piece of the puzzle.
Conclusion: Mastering the Art of Coffee Maker Maintenance
Knowing how to clean Ninja coffee maker with clean button is a fundamental skill for any coffee aficionado. Regular cleaning, descaling, and proper maintenance are crucial to ensuring your Ninja coffee maker delivers a consistently delicious cup of coffee. By following the steps outlined in this guide and incorporating the additional cleaning tips, you can prolong the life of your coffee maker, improve the taste of your coffee, and enjoy your morning ritual to the fullest. Take the time to learn how to clean Ninja coffee maker with clean button and you’ll be rewarded with a consistently superior coffee experience.
Don’t let scale build-up ruin your perfect brew. Embrace the convenience of the “Clean” button and make cleaning a regular part of your coffee routine. Your taste buds, and your Ninja coffee maker, will thank you.
[See also: Best Coffee Beans for Ninja Coffee Makers] [See also: Troubleshooting Ninja Coffee Maker Issues] [See also: How to Descale Your Coffee Maker: A Comprehensive Guide]


