Brewing Perfection: A Comprehensive Guide on How to Use Your Keurig Single Serve Coffee Maker
The Keurig single-serve coffee maker has revolutionized the morning ritual for millions. Its convenience and simplicity have made it a household staple, offering a quick and easy way to enjoy a fresh cup of coffee. But, for newcomers or those seeking to refine their brewing technique, navigating the Keurig system can seem daunting. This comprehensive guide will demystify the process, providing a step-by-step walkthrough on how to use your Keurig single serve coffee maker, ensuring you get the perfect cup every time. We’ll delve into everything from initial setup to maintenance, covering essential tips and tricks to maximize your Keurig experience.
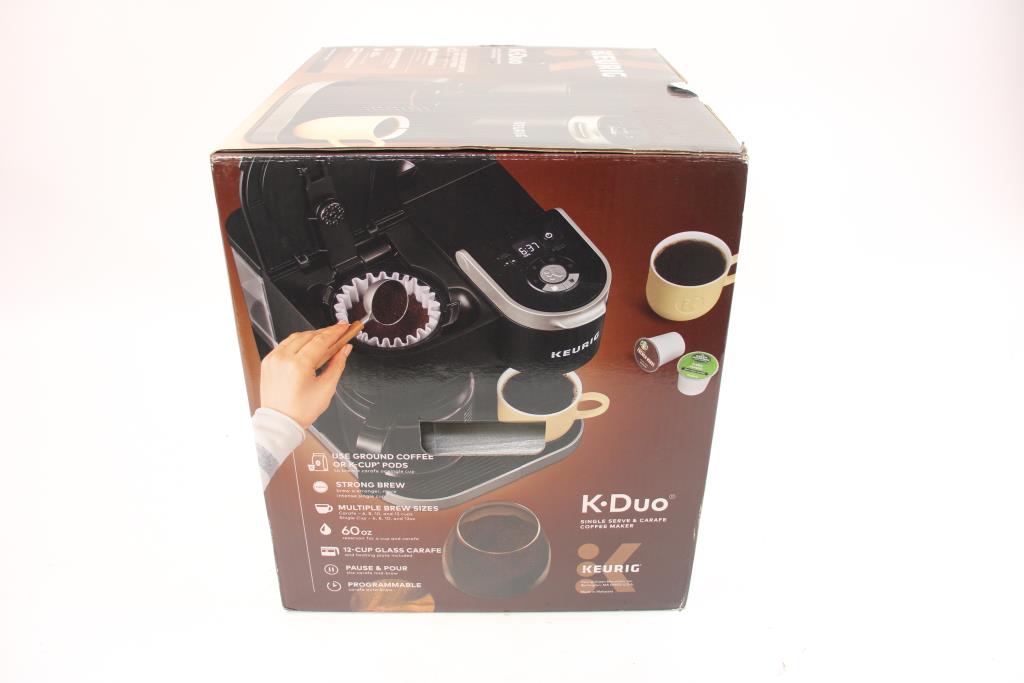
Getting Started: Unboxing and Initial Setup
Before you can savor that first cup, you’ll need to unpack and set up your Keurig. This initial process is straightforward, but crucial for optimal performance. First, carefully remove all components from the box. This usually includes the coffee maker itself, a water reservoir, a drip tray, and potentially a user manual and a few K-Cup pods.
The next step is to rinse the water reservoir and drip tray with warm, soapy water. Rinse thoroughly to remove any manufacturing residue. Once these are clean and dry, place the drip tray back into the machine. The drip tray is designed to catch any spills or drips, keeping your countertop clean.
Now, position the Keurig on a stable, level surface near a power outlet. Fill the water reservoir with fresh, filtered water. The reservoir typically has fill lines to indicate the maximum water level. Do not overfill. Attach the water reservoir securely to the coffee maker. It’s essential to ensure a proper seal to prevent leaks.
Finally, plug the coffee maker into the power outlet. Many Keurig models have an on/off button that will illuminate when the machine is powered. Allow the machine to heat up, following the manufacturer’s instructions. This initial heating cycle is essential to prepare the machine for brewing.
Brewing Your First Cup: A Step-by-Step Guide
Now that your Keurig is set up, you’re ready to brew your first cup. Here’s a detailed, easy-to-follow guide on how to use your Keurig single serve coffee maker:
- Power On and Heat Up: Press the power button to turn on your Keurig. Allow the machine to heat up completely. The indicator light will typically stop blinking when it’s ready.
- Fill the Water Reservoir: Ensure the water reservoir is filled with fresh water to the desired level. Check the water level indicator on your Keurig model.
- Lift the Handle and Insert a K-Cup: Lift the handle on the top of the Keurig. This opens the brew chamber. Insert a K-Cup pod into the chamber, ensuring it’s correctly positioned. Close the handle firmly.
- Select Your Brew Size: Most Keurig models have buttons or dials to select the brew size (e.g., 6 oz, 8 oz, 10 oz, or 12 oz). Choose the size that matches your preferred cup size.
- Start Brewing: Press the brew button. The Keurig will automatically brew your coffee, dispensing it into your mug.
- Enjoy Your Coffee: Once the brewing cycle is complete, carefully remove your mug. Dispose of the used K-Cup pod.
It’s that simple! In just a few minutes, you can enjoy a freshly brewed cup of coffee. Remember, the quality of your coffee depends on the quality of the K-Cup pod you choose. Experiment with different brands and flavors to find your perfect cup.
Understanding K-Cups and Pod Compatibility
One of the core strengths of the Keurig system is its reliance on K-Cups. These pre-filled coffee pods contain a precise amount of coffee grounds, sealed for freshness. However, not all K-Cups are created equal. Understanding the different types and compatibility is key to optimizing your experience. Keurig offers a vast array of K-Cups, including coffee, tea, hot chocolate, and even iced beverages. Each pod is designed to deliver a consistent brew, eliminating the guesswork involved in traditional coffee making.
While most Keurig models are designed to work with standard K-Cups, it’s essential to check your specific model’s compatibility. Some older models might not be compatible with all types of K-Cups. In addition to standard K-Cups, there are also reusable K-Cup filters. These filters allow you to use your own ground coffee, providing more flexibility and cost savings. Reusable filters can be a great option for those who prefer specific coffee brands or want to reduce waste. Before purchasing any K-Cups or accessories, always check the manufacturer’s recommendations for your specific Keurig model.
Maintenance and Cleaning: Keeping Your Keurig in Top Condition
Regular maintenance is crucial to ensure your Keurig continues to deliver the perfect cup, and to extend its lifespan. Cleaning your Keurig is not just about aesthetics; it’s about preventing mineral buildup and ensuring optimal performance. Here’s a breakdown of essential maintenance steps:
- Daily Cleaning: After each use, wipe down the exterior of your Keurig with a damp cloth. Empty and rinse the drip tray regularly.
- Descaling: Descaling removes mineral deposits that can accumulate inside the machine. This process is typically recommended every three to six months, or more frequently if you have hard water. Keurig sells descaling solutions, and you can also use a mixture of white vinegar and water. Follow the manufacturer’s instructions for the descaling process, which usually involves running the descaling solution through the machine multiple times.
- Needle Cleaning: The needles that pierce the K-Cup can become clogged with coffee grounds. Use a paper clip or the cleaning tool that came with your Keurig to clean these needles regularly. Refer to your user manual for specific instructions on how to access and clean the needles.
- Water Reservoir Cleaning: Regularly clean the water reservoir with warm, soapy water. Rinse thoroughly to remove any residue.
By following these maintenance steps, you can ensure your Keurig operates efficiently and consistently, delivering delicious coffee for years to come. A well-maintained Keurig is a happy Keurig.
Troubleshooting Common Issues
Even with proper care, you might encounter some issues with your Keurig. Here’s a guide to troubleshooting common problems:
- Weak Coffee: If your coffee tastes weak, try using a smaller brew size or a stronger K-Cup. You might also need to descale your machine, as mineral buildup can affect brewing performance.
- Slow Brewing: Slow brewing can be caused by mineral buildup or a clogged needle. Descale your Keurig and clean the needles.
- No Water Dispensing: Ensure the water reservoir is properly attached and filled with water. Check for any clogs in the needles or brewing chamber. Descaling may also resolve this issue.
- Error Messages: Refer to your Keurig user manual for specific error messages and their corresponding solutions.
If you’ve tried these troubleshooting steps and are still experiencing problems, contact Keurig customer support for assistance.
Tips and Tricks for the Perfect Brew
Beyond the basics, here are some tips and tricks to elevate your Keurig experience:
- Preheat Your Mug: Pour hot water into your mug before brewing to preheat it. This will help maintain the coffee’s temperature.
- Use Fresh Water: Always use fresh, filtered water for the best-tasting coffee.
- Experiment with Brew Sizes: Try different brew sizes to adjust the strength of your coffee.
- Explore K-Cup Variety: Don’t be afraid to experiment with different K-Cup flavors and brands to find your favorites.
- Consider a Reusable K-Cup Filter: For more flexibility and cost savings, try using a reusable K-Cup filter with your own ground coffee.
By implementing these tips, you can unlock the full potential of your Keurig and enjoy a truly exceptional coffee experience. The Keurig single-serve coffee maker offers unparalleled convenience, but mastering its nuances is key to brewing the perfect cup every time.
Choosing the Right Keurig Model
The Keurig lineup has expanded significantly over the years, offering a range of models to suit different needs and preferences. When choosing a Keurig, consider factors such as:
- Brewing Capacity: Some models have larger water reservoirs, allowing you to brew more cups before refilling.
- Brewing Options: Some models offer multiple brew sizes, adjustable strength settings, and even iced coffee options.
- Smart Features: Some newer models have smart features, such as programmable brewing and mobile app connectivity.
- Budget: Keurig models range in price, so consider your budget when making your selection.
Researching different models and comparing their features will help you find the Keurig that best fits your lifestyle and coffee preferences. Understanding how to use your Keurig single serve coffee maker will, of course, remain consistent across models, but the additional features can enhance your overall experience.
Conclusion: Mastering the Art of Keurig Brewing
The Keurig single-serve coffee maker offers a convenient and efficient way to enjoy a delicious cup of coffee. By understanding the basics of how to use your Keurig single serve coffee maker, from initial setup to maintenance, you can unlock the full potential of this innovative appliance. Remember to prioritize proper cleaning and descaling to ensure optimal performance and longevity. Experiment with different K-Cup flavors and brewing options to find your perfect cup. With a little practice and attention to detail, you’ll be brewing like a pro in no time.
Embrace the simplicity and convenience of the Keurig, and savor the joy of a perfectly brewed cup of coffee, made effortlessly, every single day. The journey to mastering how to use your Keurig single serve coffee maker is a rewarding one, leading to countless moments of coffee bliss.
[See also: Best Coffee Makers for Beginners]
[See also: Coffee Brewing Techniques Explained]
[See also: How to Clean Your Coffee Maker]

