
Brewing Brilliance: The Definitive Guide on How to Clean Coffee Maker with Vinegar and Water
The aroma of freshly brewed coffee is a morning ritual for millions. But behind every perfect cup lies a diligent guardian: the coffee maker. Over time, mineral deposits from water and coffee oils can accumulate, hindering performance and impacting flavor. This is where the humble yet powerful duo of vinegar and water steps in. This comprehensive guide delves into how to clean coffee maker with vinegar and water, ensuring your appliance delivers the best possible brew, cup after cup.
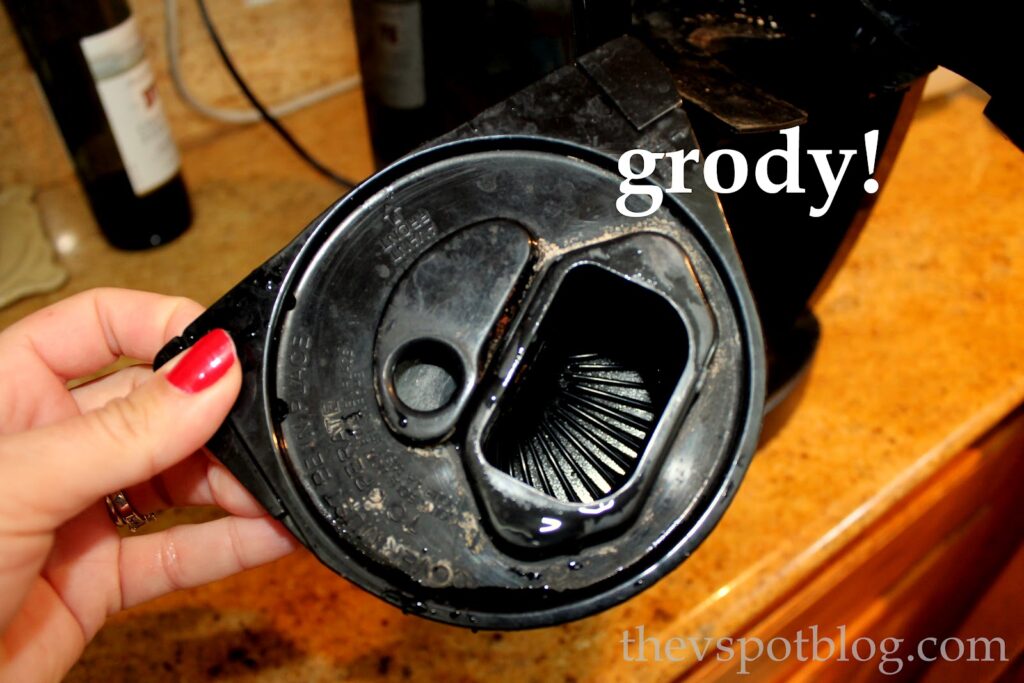
Why Clean Your Coffee Maker? The Science of Buildup
Think of your coffee maker as a complex system. Water travels through it, heating up, and extracting flavor from coffee grounds. This process, however, is a breeding ground for mineral buildup, primarily from calcium and magnesium present in tap water. This buildup, often referred to as limescale, gradually coats the internal components, leading to several undesirable consequences.
- Reduced Efficiency: Limescale acts as an insulator, hindering the heating element’s ability to reach optimal temperatures. This means your coffee maker needs to work harder, consuming more energy and potentially shortening its lifespan.
- Impaired Flavor: Mineral deposits can alter the taste of your coffee, giving it a metallic or bitter edge. The accumulated oils can also contribute to a stale and unpleasant taste.
- Hygiene Concerns: Stagnant water and coffee residues can create an environment conducive to mold and bacteria growth. Regular cleaning is essential for maintaining a hygienic brewing process.
By understanding the science behind the buildup, you can appreciate the importance of regular cleaning and the effectiveness of the vinegar and water method.
The Vinegar and Water Solution: A Powerful Combination
Vinegar, specifically white distilled vinegar, is a natural descaling agent. Its acidic properties effectively dissolve mineral deposits without harsh chemicals. When mixed with water, it creates a safe and readily available cleaning solution for your coffee maker. This method is not only cost-effective but also environmentally friendly, making it a popular choice for coffee enthusiasts worldwide.
Preparing Your Coffee Maker for Cleaning
Before you begin the cleaning process, take a few preparatory steps to ensure a smooth and effective experience. First, unplug your coffee maker and allow it to cool completely. This is crucial for safety and prevents any potential burns. Next, remove any removable parts, such as the carafe, filter basket, and any other components that can be detached. Wash these parts with warm, soapy water and rinse thoroughly. This pre-cleaning step removes loose coffee grounds and residue, optimizing the vinegar and water solution’s effectiveness.
Step-by-Step Guide on How to Clean Coffee Maker with Vinegar and Water
Now, let’s get down to the practical steps of how to clean coffee maker with vinegar and water. This process is straightforward and requires minimal effort, yet the results are remarkable.
- Mix the Solution: In your coffee maker’s water reservoir, combine equal parts white distilled vinegar and water. For example, if your reservoir holds 12 cups, use 6 cups of vinegar and 6 cups of water.
- Run the Brewing Cycle: Place the carafe in its usual position and run a full brewing cycle. The vinegar and water solution will circulate through the machine, dissolving mineral deposits along the way.
- Pause and Soak (Optional): For coffee makers with heavy limescale buildup, you can pause the brewing cycle halfway through and let the solution sit for 30-60 minutes. This allows the vinegar to work its magic on stubborn deposits.
- Rinse Thoroughly: Once the brewing cycle is complete, discard the vinegar and water solution. Rinse the reservoir thoroughly with fresh water to remove any lingering vinegar smell or taste.
- Run Rinse Cycles: Run at least two to three full brewing cycles with fresh water only. This ensures that all traces of vinegar are flushed out, leaving your coffee maker clean and ready for brewing.
- Clean Removable Parts: While the brewing cycle is running, wash the removable parts again with warm, soapy water. This final cleaning step ensures that your coffee maker is completely clean and ready for use.
Following these steps diligently will ensure that you’ve successfully cleaned your coffee maker.
Cleaning Different Types of Coffee Makers
While the vinegar and water method is generally applicable to most coffee makers, some variations exist depending on the type of appliance. Here’s a quick guide for different models:
- Drip Coffee Makers: The standard method described above works perfectly for drip coffee makers. Remember to clean the filter basket and carafe thoroughly.
- Keurig and Single-Serve Machines: For Keurig machines, you might need to run the vinegar and water solution through the machine multiple times, following the manufacturer’s instructions. Some Keurig models have a descaling mode.
- French Press: While the vinegar and water method isn’t directly applicable to French presses, you can still use vinegar to clean the glass carafe. Soak it in a vinegar and water solution, then scrub and rinse thoroughly.
- Espresso Machines: Espresso machines often have more complex cleaning requirements. Consult your machine’s manual for specific instructions on descaling with vinegar or other recommended solutions. Some models may not be compatible with vinegar.
Always consult your coffee maker’s manual for specific cleaning recommendations and any warnings about using vinegar.
Maintaining Your Coffee Maker: Regular Cleaning Schedule
Regular maintenance is key to keeping your coffee maker in top condition and ensuring optimal performance. The frequency of cleaning depends on several factors, including the hardness of your water and how often you use your coffee maker.
As a general guideline, it’s recommended to clean your coffee maker with vinegar and water every 1-3 months. If you live in an area with hard water, you may need to clean it more frequently. Pay attention to any signs of buildup, such as slower brewing times or a change in coffee taste. If you notice these issues, it’s time for a cleaning session. In addition to the vinegar and water cleaning, remember to rinse the carafe and filter basket after each use.
Troubleshooting Common Issues
Even with diligent cleaning, you might encounter a few issues. Here are some troubleshooting tips:
- Lingering Vinegar Smell: If you still smell vinegar after rinsing, run additional rinse cycles with fresh water. You can also try adding a tablespoon of baking soda to the water during one of the rinse cycles.
- Slow Brewing: If your coffee maker is brewing slowly, it could indicate limescale buildup. Repeat the vinegar and water cleaning process, paying extra attention to the heating element. If the problem persists, you may need to contact a repair technician.
- Coffee Tastes Off: If your coffee tastes bitter or metallic, it could be due to mineral deposits or old coffee oils. Clean your coffee maker thoroughly and consider using filtered water.
Beyond Vinegar: Alternative Cleaning Solutions
While vinegar is an excellent and readily available cleaning agent, other options are available. Commercial descaling solutions are specifically designed for coffee makers and can be effective. However, they often contain harsher chemicals and may be more expensive. Baking soda can also be used to clean your coffee maker. Mix a tablespoon of baking soda with water and run it through a brewing cycle. This is a good alternative for removing lingering odors after a vinegar cleaning. Always follow the manufacturer’s instructions when using any cleaning solution.
The Importance of a Clean Coffee Maker
Taking the time to learn how to clean coffee maker with vinegar and water is an investment in your daily ritual. A clean coffee maker not only ensures the best possible flavor but also extends the life of your appliance and promotes a healthier brewing environment. Regular cleaning prevents the buildup of mineral deposits, which can affect the taste of your coffee. A well-maintained coffee maker will brew consistently delicious coffee for years to come. The simple act of cleaning your coffee maker can transform your morning routine.
Frequently Asked Questions (FAQ)
Here are some frequently asked questions about cleaning coffee makers:
- How often should I clean my coffee maker? It’s recommended to clean your coffee maker with vinegar and water every 1-3 months, or more frequently if you have hard water.
- Can I use vinegar on all types of coffee makers? The vinegar and water method works well for drip coffee makers. Always consult your manual for espresso machines and Keurigs.
- What type of vinegar should I use? Use white distilled vinegar for the best results.
- What if my coffee still tastes like vinegar? Run additional rinse cycles with fresh water.
- Can I use other cleaning solutions? Yes, commercial descaling solutions and baking soda are also options.
By following these guidelines, you can keep your coffee maker in top condition.
Conclusion: Brewing Perfection Starts with Cleanliness
Mastering how to clean coffee maker with vinegar and water is a simple yet essential skill for any coffee lover. By understanding the science behind the buildup, following the step-by-step guide, and establishing a regular cleaning schedule, you can ensure that your coffee maker delivers the perfect cup, every time. This method offers a cost-effective, environmentally friendly, and highly effective solution for maintaining your appliance. Embrace the power of vinegar and water, and elevate your coffee experience to a whole new level.
[See also: Related Article Titles]

