
Mastering the Percolator: A Comprehensive Guide to Brewing Exceptional Coffee
The percolator. A stalwart of kitchens past, a symbol of diner breakfasts, and, for some, a brewing method shrouded in mystery. But the percolator, when wielded correctly, can deliver a robust and flavorful cup of coffee. This guide dives deep into how to use percolator for coffee, demystifying the process and equipping you with the knowledge to brew exceptional coffee every time. Whether you’re a seasoned coffee aficionado or a curious newcomer, this article will guide you through the nuances of percolator brewing, from selecting the right equipment to mastering the perfect brew.
Understanding the Percolator: A Brief History and Its Mechanics
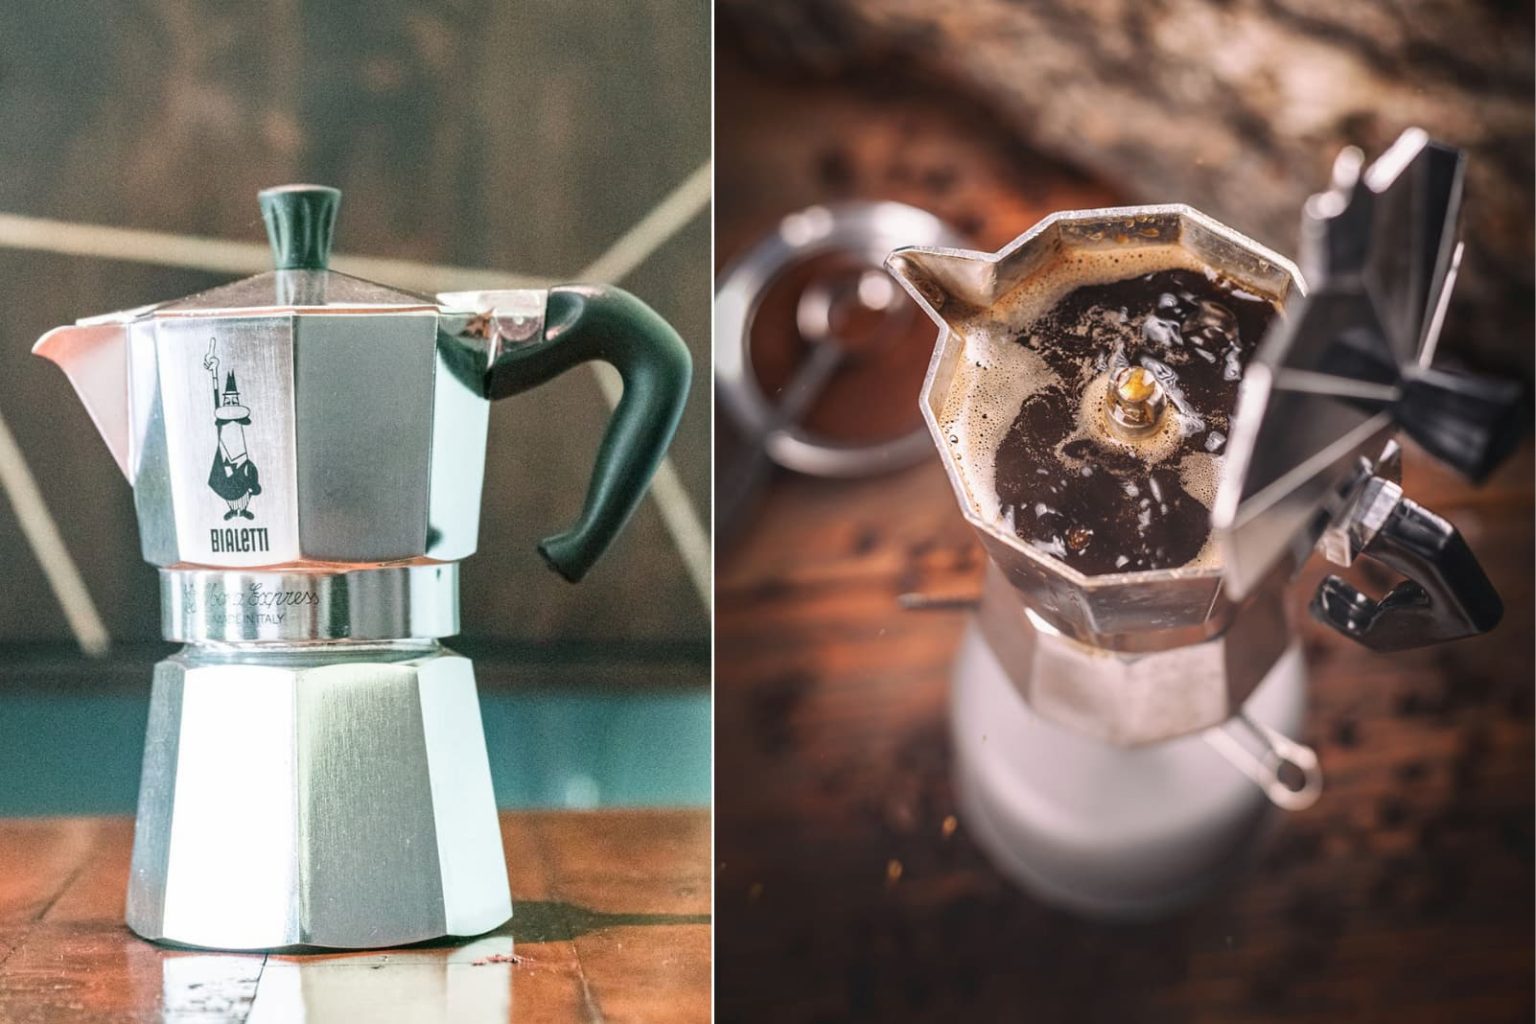
Before we delve into the practicalities of how to use percolator for coffee, let’s take a moment to appreciate the percolator’s history and mechanics. The percolator, in its earliest forms, dates back to the mid-19th century. Its popularity soared in the mid-20th century, becoming a staple in American households and diners. The fundamental principle behind the percolator is simple: water is heated at the bottom of the pot, creating steam pressure that forces the water upwards through a tube and over the coffee grounds. This process, repeating continuously, extracts flavor and caffeine from the grounds.
The key components of a percolator include:
- The Pot: Typically made of stainless steel or glass, the pot houses the water and coffee grounds.
- The Basket: This is where the coffee grounds are placed. It sits inside the pot, near the top.
- The Tube: This vertical tube carries the heated water to the top of the pot, where it showers over the grounds.
- The Lid: Often transparent (especially in glass percolators), the lid allows you to monitor the brewing process.
Unlike other brewing methods like pour-over or French press, the percolator recirculates the water through the grounds repeatedly. This continuous brewing can lead to a stronger cup of coffee, but it also increases the risk of over-extraction if not managed carefully. Understanding these mechanics is crucial to understanding how to use percolator for coffee effectively.
Choosing the Right Percolator: A Matter of Material and Method
The market offers a variety of percolators, each with its own characteristics. The material of the pot, the heat source, and the overall design all influence the final cup of coffee. Knowing the differences will help you decide the best way how to use percolator for coffee for your needs.
Stainless Steel Percolators
Stainless steel percolators are durable, easy to clean, and often the most affordable option. They heat up quickly and retain heat well, contributing to a consistent brewing temperature. However, it can be difficult to monitor the brewing process with a stainless steel percolator, as you can’t see the coffee darkening. They are typically used on stovetops.
Glass Percolators
Glass percolators offer the advantage of visual monitoring. You can easily observe the color of the coffee as it brews, allowing you to control the strength and avoid over-extraction. They are generally more fragile than stainless steel models and require careful handling. Glass percolators can be used on stovetops, but you may need a heat diffuser to prevent cracking.
Electric Percolators
Electric percolators offer convenience. They plug into an outlet and often have automatic shut-off features, making them ideal for those who value ease of use. They typically have a consistent brewing temperature control. However, electric percolators can be less durable than stovetop models and might lack the same level of control over the brewing process.
Stovetop vs. Electric
The choice between stovetop and electric percolators depends on your lifestyle and preferences. Stovetop percolators offer more control over the heat source and brewing time, while electric percolators provide convenience and safety features. Consider your daily routine and the level of control you desire when deciding.
Step-by-Step Guide: How to Use Percolator for Coffee Like a Pro
Now, let’s get to the heart of the matter: how to use percolator for coffee to brew a delicious cup. Following these steps will elevate your coffee brewing skills and help you achieve the perfect brew every time.
Step One: Gather Your Supplies
Before you begin, gather the necessary supplies. You’ll need:
- Your percolator (stainless steel, glass, or electric)
- Freshly roasted coffee beans (medium to coarse grind is recommended, more on this later)
- Filtered water
- A coffee grinder (if using whole beans)
- A measuring spoon or scoop
Step Two: Grind Your Coffee Beans
Freshly ground coffee beans are essential for a flavorful cup. For percolators, a medium to coarse grind is generally recommended. A grind that’s too fine will over-extract, leading to a bitter taste, while a grind that’s too coarse will result in a weak brew. The ideal grind size allows for proper water flow through the grounds during the percolation process. If you are using pre-ground coffee, make sure it’s suitable for a percolator (look for “percolator grind” on the packaging).
Step Three: Add Water to the Percolator
Fill the percolator with cold, filtered water to the desired level. The amount of water will determine the final yield of coffee. Be sure to consult the percolator’s instructions for the maximum water level.
Step Four: Add the Coffee Grounds
Place the coffee basket inside the percolator. Measure the coffee grounds and add them to the basket. A general guideline is one to two tablespoons of ground coffee per six ounces of water, but you can adjust this ratio to suit your taste. Experiment to discover your preferred coffee-to-water ratio. Ensure that the grounds are evenly distributed in the basket.
Step Five: Assemble the Percolator
Carefully place the lid on the percolator, ensuring it’s securely in place. For stovetop models, make sure the lid is on tight to prevent steam from escaping. For electric models, make sure the lid is properly closed before plugging it in.
Step Six: Begin Brewing
For stovetop percolators, place the pot on the burner and turn the heat to medium. For electric percolators, plug it in and turn it on. Watch for the initial bubbling. With a glass percolator, you can observe the coffee’s color change. For stainless steel models, the brewing time is the best indicator. The brewing process usually takes between 5 to 10 minutes, depending on your desired strength. The first bubbles will appear as the water heats up and begins to percolate, and then the process will settle into a steady rhythm. You can often adjust the heat to fine-tune the brewing time.
Step Seven: Monitor the Brewing Process
This is where the art of percolator brewing comes into play. The longer the coffee percolates, the stronger it becomes. However, over-percolating can lead to bitterness. Monitor the color of the coffee (if using a glass percolator) and the brewing time. Aim for a rich, dark color, but avoid allowing the coffee to boil for too long. For stainless steel percolators, timing is crucial. Start checking for the desired strength at around 5 minutes.
Step Eight: Turn Off the Heat or Unplug the Percolator
Once your coffee has reached the desired strength, turn off the burner or unplug the electric percolator. If you leave the percolator on the heat, the coffee will continue to brew and become increasingly bitter. Remove the percolator from the heat source and let it sit for a minute or two to allow the grounds to settle. With an electric percolator, it often has an automatic keep warm feature.
Step Nine: Serve and Enjoy
Carefully pour the coffee into your favorite mug and savor the aroma and flavor. Experiment with different brewing times and coffee-to-water ratios to find your perfect cup. Enjoy!
Troubleshooting Common Percolator Issues
Even with the best techniques, you might encounter some common issues when learning how to use percolator for coffee. Here’s how to address them:
Bitter Coffee
Bitter coffee is often a sign of over-extraction. This can be caused by:
- Over-percolating: Reduce the brewing time.
- Too fine of a grind: Use a coarser grind.
- Excessive heat: Lower the heat or switch to a lower setting.
Weak Coffee
Weak coffee can result from under-extraction. This may be caused by:
- Under-percolating: Increase the brewing time slightly.
- Too coarse of a grind: Use a finer grind.
- Insufficient coffee grounds: Increase the coffee-to-water ratio.
Coffee Grounds in Your Cup
Coffee grounds in your cup are usually caused by:
- A damaged or missing filter: Check the basket and lid for any damage. Replace if necessary.
- Too fine of a grind: Use a coarser grind.
- Overfilling the basket: Do not overfill the coffee basket.
Percolator Not Brewing
If your percolator isn’t brewing, check the following:
- Water level: Ensure there is enough water in the percolator.
- Power supply: For electric percolators, make sure it’s plugged in and switched on.
- Heat source: For stovetop percolators, ensure the burner is on.
- Clogging: Check the tube for any blockages.
Tips for Brewing the Perfect Percolator Coffee
Mastering how to use percolator for coffee takes practice, but these tips will help you along the way:
- Use fresh, high-quality coffee beans: The quality of your beans significantly impacts the final taste.
- Grind your beans just before brewing: This preserves the coffee’s aroma and flavor.
- Experiment with the grind size: Find the grind size that works best for your percolator and taste preferences.
- Adjust the coffee-to-water ratio: Start with the recommended ratio and adjust to your liking.
- Monitor the brewing time: Don’t over-percolate.
- Clean your percolator regularly: This prevents the buildup of coffee oils and ensures optimal performance.
- Preheat the water: Heating the water slightly before percolation can improve the extraction.
- Consider a heat diffuser (for glass percolators): This helps to prevent cracking.
Beyond the Basics: Exploring Variations and Enhancements
Once you’ve mastered the basics of how to use percolator for coffee, you can explore variations and enhancements to customize your brew. Consider the following:
- Adding spices: Experiment with adding spices like cinnamon, cardamom, or nutmeg to the coffee grounds before brewing.
- Using flavored coffee beans: Try flavored beans like vanilla or hazelnut for a unique taste.
- Adding a pinch of salt: A small amount of salt can help to balance the bitterness of the coffee.
- Experimenting with different brewing times: Vary the brewing time to adjust the strength of your coffee.
- Cold brewing in a percolator: While less common, you can adapt a percolator for cold brew.
By exploring these variations, you can tailor your percolator coffee to your individual preferences.
Conclusion: Your Guide to Brewing Exceptional Percolator Coffee
The percolator, once a staple of many kitchens, offers a unique and often overlooked method of brewing coffee. By understanding the mechanics, choosing the right equipment, and mastering the brewing process, you can unlock the full potential of this classic appliance. This article has provided a comprehensive guide on how to use percolator for coffee, covering everything from choosing the right equipment to troubleshooting common issues. With a little practice and experimentation, you can brew a delicious and satisfying cup of coffee using your percolator. Embrace the journey, experiment with different techniques, and enjoy the rich, robust flavors that the percolator has to offer. Happy brewing!
[See also: Best Coffee Grinders for Home Use] [See also: How to Clean Your Coffee Maker] [See also: The Ultimate Guide to Coffee Bean Origins]

