Reviving Your Adventure: A Comprehensive Guide to Repairing Pop-Up Camper Canvas
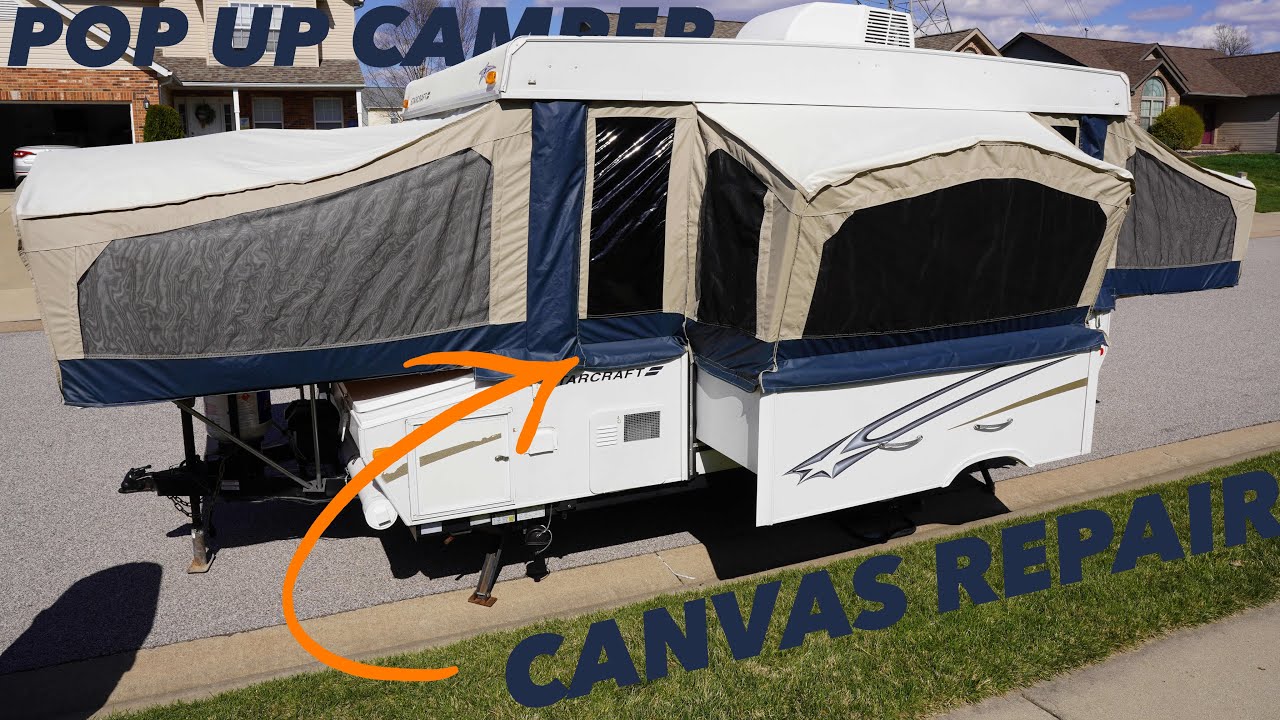
The open road, the scent of pine, and the promise of adventure – these are the hallmarks of a pop-up camper experience. But the elements can be harsh, and the heart of your pop-up, the canvas, is often the first to show the wear and tear. This article delves into the practical aspects of repairing pop up camper canvas, offering a comprehensive guide to help you restore your camper to its former glory and keep your adventures rolling.
Owning a pop-up camper is a fantastic way to embrace the outdoors without sacrificing comfort. However, the canvas, a crucial component for weather protection and comfortable living, is susceptible to damage. Tears, rips, leaks, and mildew are common adversaries. This guide will equip you with the knowledge and techniques needed to tackle these issues and ensure your pop up camper canvas remains in top condition.
Understanding the Canvas: Materials and Vulnerabilities
Before diving into repairs, it’s essential to understand the material your pop up camper canvas is made of. Most often, it’s constructed from a blend of cotton, polyester, or a combination of both. These materials are treated with water-resistant and mildew-resistant coatings, but they are not invincible.
Common vulnerabilities include:
- UV Degradation: Prolonged sun exposure can weaken the fabric, leading to tears and fading.
- Tears and Rips: These can occur from branches, sharp objects, or accidental snags.
- Leaks: Seams and pinholes can allow water to penetrate, leading to dampness and potential mold growth.
- Mildew and Mold: Damp conditions and poor ventilation can foster the growth of these unsightly and potentially unhealthy organisms.
Assessing the Damage: A Step-by-Step Approach
Before you begin any repairs, a thorough assessment of the damage is crucial. This will help you determine the extent of the repairs needed and the necessary materials. Here’s a systematic approach:
- Visual Inspection: Carefully examine the entire canvas, inside and out, looking for tears, rips, holes, and areas of discoloration. Pay close attention to seams and stress points.
- Water Test (for Leaks): If you suspect leaks, pour water over the canvas in sections and observe where the water penetrates. This will pinpoint the areas needing attention.
- Mildew and Mold Check: Look for dark spots, discoloration, and a musty odor. These are telltale signs of mildew or mold.
- Document the Damage: Take photos and notes to help you remember the areas that need repair and the techniques you used.
Essential Tools and Materials for Repairing Pop Up Camper Canvas
Having the right tools and materials is paramount for successful pop up camper canvas repairs. Here’s a list of essentials:
- Canvas Repair Kit: These kits typically include canvas patches, adhesive, needles, and thread.
- Heavy-duty Sewing Machine (Optional): For larger repairs or reinforcing seams, a sewing machine designed for heavy fabrics can be invaluable.
- Seam Sealer: This is used to waterproof seams and prevent leaks.
- Mildew Remover: For tackling mildew and mold.
- Cleaning Supplies: Soap, water, and a scrub brush for cleaning the canvas before repairs.
- Scissors or a Utility Knife: For cutting patches and removing loose threads.
- Measuring Tape and Ruler: For accurate measurements.
- Gloves: To protect your hands.
Repairing Tears and Rips in Your Pop Up Camper Canvas
Tears and rips are among the most common issues with pop up camper canvas. Here’s how to address them:
- Clean the Area: Thoroughly clean the area around the tear with soap and water. Allow it to dry completely.
- Prepare the Patch: Cut a patch from your canvas repair kit that is at least 1 inch larger than the tear on all sides. Round the corners of the patch to prevent them from catching and peeling.
- Apply Adhesive: Apply adhesive to the back of the patch and carefully position it over the tear, ensuring it covers the entire damaged area.
- Secure the Patch: Press the patch firmly onto the canvas, ensuring good contact. You can use clamps or weights to hold it in place while the adhesive dries. Follow the adhesive manufacturer’s instructions for drying time.
- Sew the Patch (Optional): For a more durable repair, consider sewing the patch to the canvas using a needle and thread or a sewing machine. Use a heavy-duty needle and thread designed for outdoor fabrics.
Addressing Leaks and Waterproofing Your Pop Up Camper Canvas
Leaks can ruin your camping trip and lead to mold and mildew. Here’s how to tackle them:
- Identify the Leak Source: Use the water test mentioned earlier to pinpoint the source of the leak.
- Clean the Area: Clean the affected area with soap and water and allow it to dry completely.
- Apply Seam Sealer: If the leak is along a seam, apply seam sealer to the seam, following the manufacturer’s instructions. Ensure the sealer penetrates the seam completely.
- Patch Pinholes: For small pinholes, use a small amount of adhesive and a patch from your repair kit.
- Re-waterproof: Consider re-waterproofing the entire canvas after making repairs, using a water repellent spray designed for outdoor fabrics.
Combating Mildew and Mold on Your Pop Up Camper Canvas
Mildew and mold are not only unsightly but can also be detrimental to your health. Here’s how to address them:
- Ventilation is Key: The first step is to ensure good ventilation in your camper. Open windows and vents to promote airflow.
- Cleaning Solution: Mix a solution of water and a mild detergent or a specialized mildew remover.
- Scrub the Area: Gently scrub the affected areas with the cleaning solution. Avoid harsh scrubbing, which can damage the canvas.
- Rinse Thoroughly: Rinse the canvas thoroughly with clean water to remove all traces of the cleaning solution.
- Dry Completely: Allow the canvas to dry completely in a well-ventilated area, preferably in direct sunlight.
- Preventative Measures: To prevent future mildew and mold growth, always ensure your canvas is completely dry before storing your camper. Consider using a dehumidifier or moisture absorbers during storage.
Maintenance and Prevention: Extending the Life of Your Pop Up Camper Canvas
Regular maintenance and preventative measures are crucial for extending the life of your pop up camper canvas and avoiding costly repairs. Here are some tips:
- Regular Cleaning: Clean your canvas regularly to remove dirt, debris, and bird droppings, which can damage the fabric.
- Proper Storage: Store your camper in a dry, well-ventilated area when not in use. Avoid storing it in direct sunlight.
- Waterproofing: Re-waterproof your canvas periodically to maintain its water resistance.
- Inspection: Inspect your canvas regularly for any signs of damage, such as tears, rips, or leaks. Address any issues promptly.
- Ventilation: Ensure adequate ventilation when using your camper to prevent moisture buildup.
- Avoid Harsh Chemicals: Do not use harsh chemicals or abrasive cleaners on your canvas, as they can damage the fabric and remove the protective coatings.
Advanced Repair Techniques and Considerations
For more complex repairs, you might consider the following:
- Professional Repair: For large tears or extensive damage, consider having your pop up camper canvas repaired by a professional.
- Canvas Replacement: If the damage is too extensive, canvas replacement might be the most cost-effective option.
- Reinforcing Stress Points: Reinforce stress points, such as corners and seams, with extra stitching or patches.
- Using a Sewing Machine: A sewing machine designed for heavy fabrics can be helpful for larger repairs and reinforcing seams.
Cost Considerations: DIY vs. Professional Repair
The cost of repairing your pop up camper canvas will vary depending on the extent of the damage and whether you choose to DIY or hire a professional. DIY repairs are generally more affordable, as you only need to purchase materials. However, professional repairs may be necessary for complex or extensive damage.
- DIY Repairs: The cost of materials, such as patches, adhesive, and seam sealer, is typically relatively low.
- Professional Repairs: Professional repair costs depend on the size and type of repair. Get quotes from multiple professionals before making a decision.
- Replacement: Replacing the entire canvas is the most expensive option, but it might be necessary for extensive damage.
Conclusion: Embracing the Adventure with a Repaired Canvas
Repairing pop up camper canvas is a rewarding task that allows you to keep your camper in top condition and extend its lifespan. By following the guidelines in this article, you can confidently address common canvas issues and ensure your camper is ready for your next adventure. Proper maintenance and preventative measures will go a long way in protecting your investment and allowing you to enjoy countless camping trips.
Don’t let a damaged canvas keep you from the open road. With the right tools, materials, and techniques, you can revive your camper and continue to create lasting memories. So, get out there, explore, and enjoy the journey!
[See also: How to Choose the Right Pop-Up Camper for Your Needs]
[See also: Essential Pop-Up Camper Accessories for a Comfortable Camping Experience]
[See also: Pop-Up Camper Maintenance Tips: Keeping Your Camper in Top Shape]

