Unveiling the Open Road: A Comprehensive Guide on How to Install a Camper Awning
The allure of the open road, the freedom of the wilderness, and the comfort of your own mobile sanctuary – these are the promises of camper life. Central to this lifestyle is the ability to create a comfortable and functional outdoor living space, and a camper awning is the cornerstone of that experience. This guide provides a comprehensive, fact-checked, and easy-to-follow approach to how to install a camper awning, ensuring you can quickly and confidently expand your living area and enjoy the great outdoors.
Before you even think about how to install a camper awning, it’s crucial to understand the benefits. Awnings provide shade from the sun, protection from the rain, and a designated area for relaxation and entertainment. They extend your living space, allowing you to enjoy the outdoors regardless of weather conditions. Choosing the right awning and knowing how to install a camper awning correctly will significantly enhance your camping experience.
Choosing the Right Camper Awning
The market offers a diverse range of camper awnings, each with its own set of features, benefits, and installation requirements. Understanding these differences is the first step in ensuring a successful installation. Consider these factors when selecting your awning:
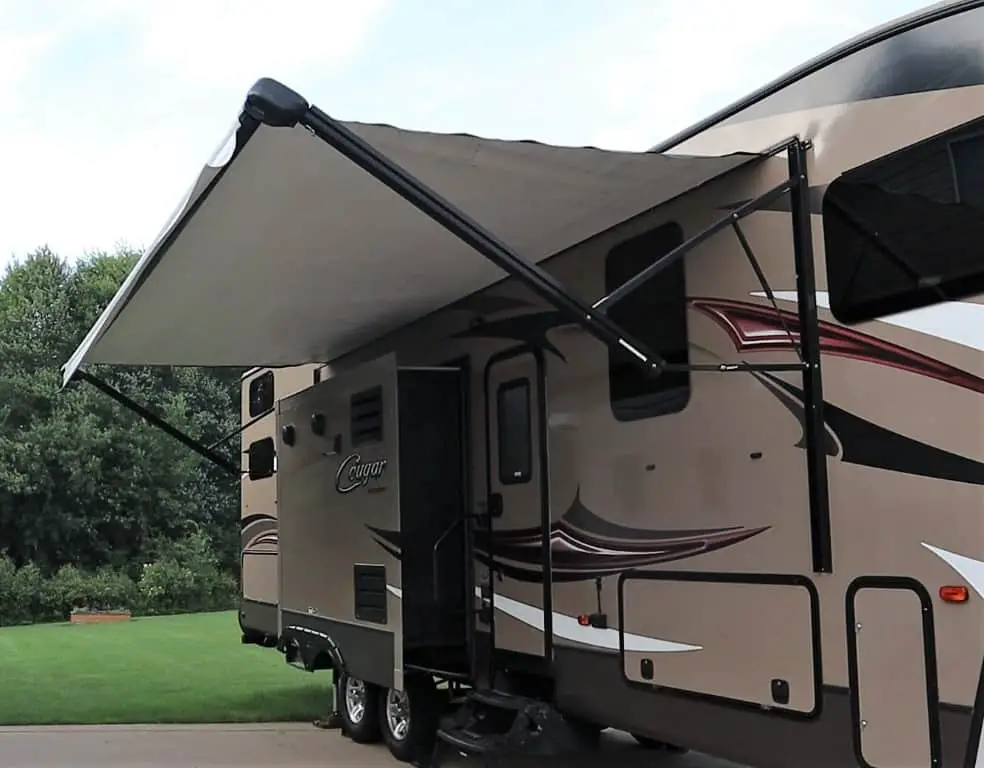
- Type: There are primarily two types of camper awnings: manual and electric. Manual awnings are typically more affordable and require manual deployment and retraction. Electric awnings offer convenience, retracting and extending with the push of a button, but are more expensive and require a power source.
- Size: Measure the length of your camper’s awning track or mounting location to determine the appropriate awning size. Ensure the awning isn’t too long or too short for your camper.
- Material: Awning fabric is usually made from vinyl or acrylic. Vinyl is waterproof and easy to clean, while acrylic is breathable and resistant to fading. Consider the climate and your usage needs when choosing the material.
- Features: Some awnings come with additional features, such as LED lights, integrated speakers, or adjustable pitch. These features can enhance your camping experience but may also complicate the installation process.
Careful consideration during the selection process will make the subsequent steps of how to install a camper awning significantly smoother.
Gathering Your Tools and Materials
Before you begin, gather all the necessary tools and materials. This will streamline the installation process and prevent frustrating delays. The specific tools and materials will vary depending on the type of awning and your camper model. However, a typical list includes:
- The camper awning itself
- A measuring tape
- A drill with appropriate drill bits
- A level
- A screwdriver (Phillips and flathead)
- A wrench or socket set
- Safety glasses
- Gloves
- A ladder (if necessary)
- Sealant (e.g., silicone or RV sealant)
- Fasteners (screws, bolts, etc., usually included with the awning)
- A helper (highly recommended)
Having all the necessary tools and materials on hand is an important step in understanding how to install a camper awning effectively.
Preparation: Prepping Your Camper for Installation
Before you delve into how to install a camper awning, prepare your camper. This crucial step ensures a proper and secure installation. Park your camper on a level surface and engage the parking brake. If your camper has an existing awning track, inspect it for any damage or debris. Clean the track thoroughly. If you’re installing a new awning track, carefully follow the manufacturer’s instructions for mounting it to your camper’s sidewall. Ensure the track is level and securely fastened. This is a fundamental aspect of how to install a camper awning correctly.
Step-by-Step Guide: How to Install a Camper Awning
Now, let’s get to the heart of the matter: how to install a camper awning. The following steps provide a general guide. Always refer to the manufacturer’s instructions specific to your awning model. Safety is paramount throughout this process, so wear safety glasses and gloves.
Step 1: Mounting the Awning Hardware
If your awning requires mounting brackets, attach them to the camper sidewall. Measure and mark the bracket locations according to the manufacturer’s specifications. Use a drill to create pilot holes, and then securely fasten the brackets with screws or bolts. Ensure the brackets are level and properly aligned.
Step 2: Inserting the Awning into the Track or Brackets
This is where the assistance of a helper becomes invaluable. Carefully lift the awning and slide the awning rail into the existing track or attach it to the mounting brackets. If using a track, ensure the awning rail slides smoothly. If using brackets, align the awning with the brackets and secure it with the provided hardware. The correct execution of this step is key to understanding how to install a camper awning.
Step 3: Securing the Awning Arms
Once the awning is in place, secure the awning arms to the camper sidewall. The arms typically attach to the brackets or the awning rail. Follow the manufacturer’s instructions for attaching the arms, ensuring they are securely fastened. Most awnings will have a locking mechanism to hold the arms in place when deployed. Make sure you understand this mechanism as part of how to install a camper awning.
Step 4: Sealing the Awning (Optional but Recommended)
To prevent water leaks, apply sealant around the awning mounting points and along the awning rail. This is especially important if you’re installing a new awning track. Use a high-quality RV sealant designed for exterior use. This step is crucial for long-term durability and is a vital part of how to install a camper awning.
Step 5: Testing and Adjusting
Once the installation is complete, test the awning. Extend and retract the awning to ensure it operates smoothly. Check for any binding or obstructions. If necessary, make adjustments to the arm tension or alignment. This final step ensures you’ve successfully learned how to install a camper awning.
Troubleshooting Common Issues
Even with careful planning, you may encounter some issues during the installation process. Here are some common problems and solutions:
- Awning won’t slide into the track: Check for debris or obstructions in the track. Lubricate the track with a silicone-based lubricant.
- Awning arms are difficult to operate: Adjust the arm tension or alignment. Check for any binding.
- Awning leaks: Reapply sealant around the mounting points and along the awning rail.
- Awning won’t retract: Check the motor (if electric) and the awning mechanism. Consult the manufacturer’s instructions for troubleshooting.
Maintaining Your Camper Awning
Proper maintenance is essential to extend the life of your camper awning. Regularly clean the awning fabric with mild soap and water. Avoid using harsh chemicals or abrasive cleaners. Inspect the awning arms and hardware for any signs of wear or damage. Lubricate the moving parts as needed. By understanding the steps on how to install a camper awning and following these maintenance tips, you can ensure your awning provides years of reliable service. Periodic inspection is also important, as is preventative maintenance. The longevity of your awning is directly related to how well you care for it.
Safety Considerations
Safety should always be your top priority. When installing a camper awning, always wear safety glasses and gloves. Use a ladder with caution, and have a helper assist you when lifting and maneuvering the awning. Avoid working in windy conditions, as the awning can be difficult to control. If you’re uncomfortable with any part of the installation process, consult a professional. Understanding safety is paramount when learning how to install a camper awning.
Conclusion
Learning how to install a camper awning is a rewarding experience that enhances your camping adventures. By following these steps and taking the time to properly prepare and install your awning, you can create a comfortable and functional outdoor living space. Remember to always prioritize safety and consult the manufacturer’s instructions. With the knowledge gained from this guide, you are well-equipped to take on this project and enjoy the benefits of a camper awning for years to come. The ability to enjoy the outdoors, sheltered from the elements, is a key benefit of understanding how to install a camper awning.
[See also: How to Choose the Right Camping Gear, Camping Safety Tips, Essential RV Maintenance]

